Chimney Sweeping Services
 Nothing says home like a wood-burning fireplace. Gas powered and gel fireplaces have their strong points, especially when it comes to ease of use. But only a real wood-burning fireplace, with its deep crackle and glowing orange embers, is capable of sparking such a sense of place in the imagination of homeowners.
Yet realism comes at a price. A chimney that reluctantly draws smoke can lead to a sooty, smelly home interior.
A poorly maintained chimney can also lead to a terrifying phenomenon known as a chimney fire.
In many cases, the cause is a dirty chimney. Learning how and when to clean your chimney can help improve indoor air quality and prevent devastating chimney fires.
Why You Must Clean Your Chimney
 Wood fires do not burn cleanly. When wood burns, it releases a host of contaminants that coat the inside of the chimney. Creosote, an oily, black substance, is one byproduct of wood burning fires. Creosote forms as a result of gases that have not fully combusted, and it condenses on the inside of the chimney and remains until removed. Burning green or unseasoned wood hastens creosote build-up.
In addition, organic, flammable debris can enter the chimney, brought by the elements or by animals. Wind can deposit leaves and twigs in chimneys lacking flue caps. Birds and vermin can nest in chimneys or otherwise bring unwanted materials.
Chimney fires begin with snaps and pops as loud as gunshots, progressing to a deep, rumbling sound. Oily, black, flaming creosote rains down into the firebox. When the fire starts, it starts like an explosion. Flames blast out of the top of the chimney and back down into the firebox. Due to thermal expansion, the flue may crack at some unreachable mid-point and shoot flames into the walls from the inside.
Chimney fires typically cannot be controlled by the homeowner. Because firefighters have to shoot water from the top downward, the house suffers damage from flooding. In many cases, the entire house is lost.
When to Clean Your Chimney
Chimneys should be cleaned no later than the early fall, prior to fire burning season. If you choose to hire a chimney sweep, you can expect a quick turnaround if you have them come earlier, ideally in the summer. For self-cleaning, late summer is the best time, since you can count on a dry, safe roof and mild conditions.
In addition to scheduled chimney cleanings, you should clean when any of these conditions are present:
-
Soot and creosote tend to fall into the firebox during a fire
-
Honeycomb textured creosote builds up on the inside of the chimney
-
Creosote is more than 1/4-inch thick
-
You burn a lot of artificial logs
-
You are a heavy fireplace user
-
You burn green or otherwise unseasoned firewood
 How to Clean Your Chimney
You may choose to call in a chimney sweep or clean the chimney by yourself. If the chimney has not been cleaned in a long time, it is wise to have a chimney sweep do the first cleaning. Stay safe by practicing good ladder safety and by having an assistant monitor you when you are on the roof.
Tools and Materials
-
Chimney brushes
-
Fiberglass extension rods
-
Shop vacuum with dust filter
-
Extension ladder
-
Sheet plastic
-
Painter’s tape and duct tape
-
Dust mask and safety glasses
-
Cordless drill with screwdriver bit
Seal Up the Fireplace
Downstairs at the fireplace, fully open the damper. Cut off a generous section of sheet plastic, about 6 feet long by 4 feet wide, and tape it on the floor in front of the fireplace with the painter’s tape or duct tape. Cut another piece of sheet plastic so that it is at least 12 inches longer and wider than the opening of the fireplace. Tape this over the fireplace to seal it against debris.
Go to the Roof
Place the extension ladder against the house so that you can gain access to the roof. Bring your chimney cleaning tools up to the roof. For safety, have your assistant hold the ladder.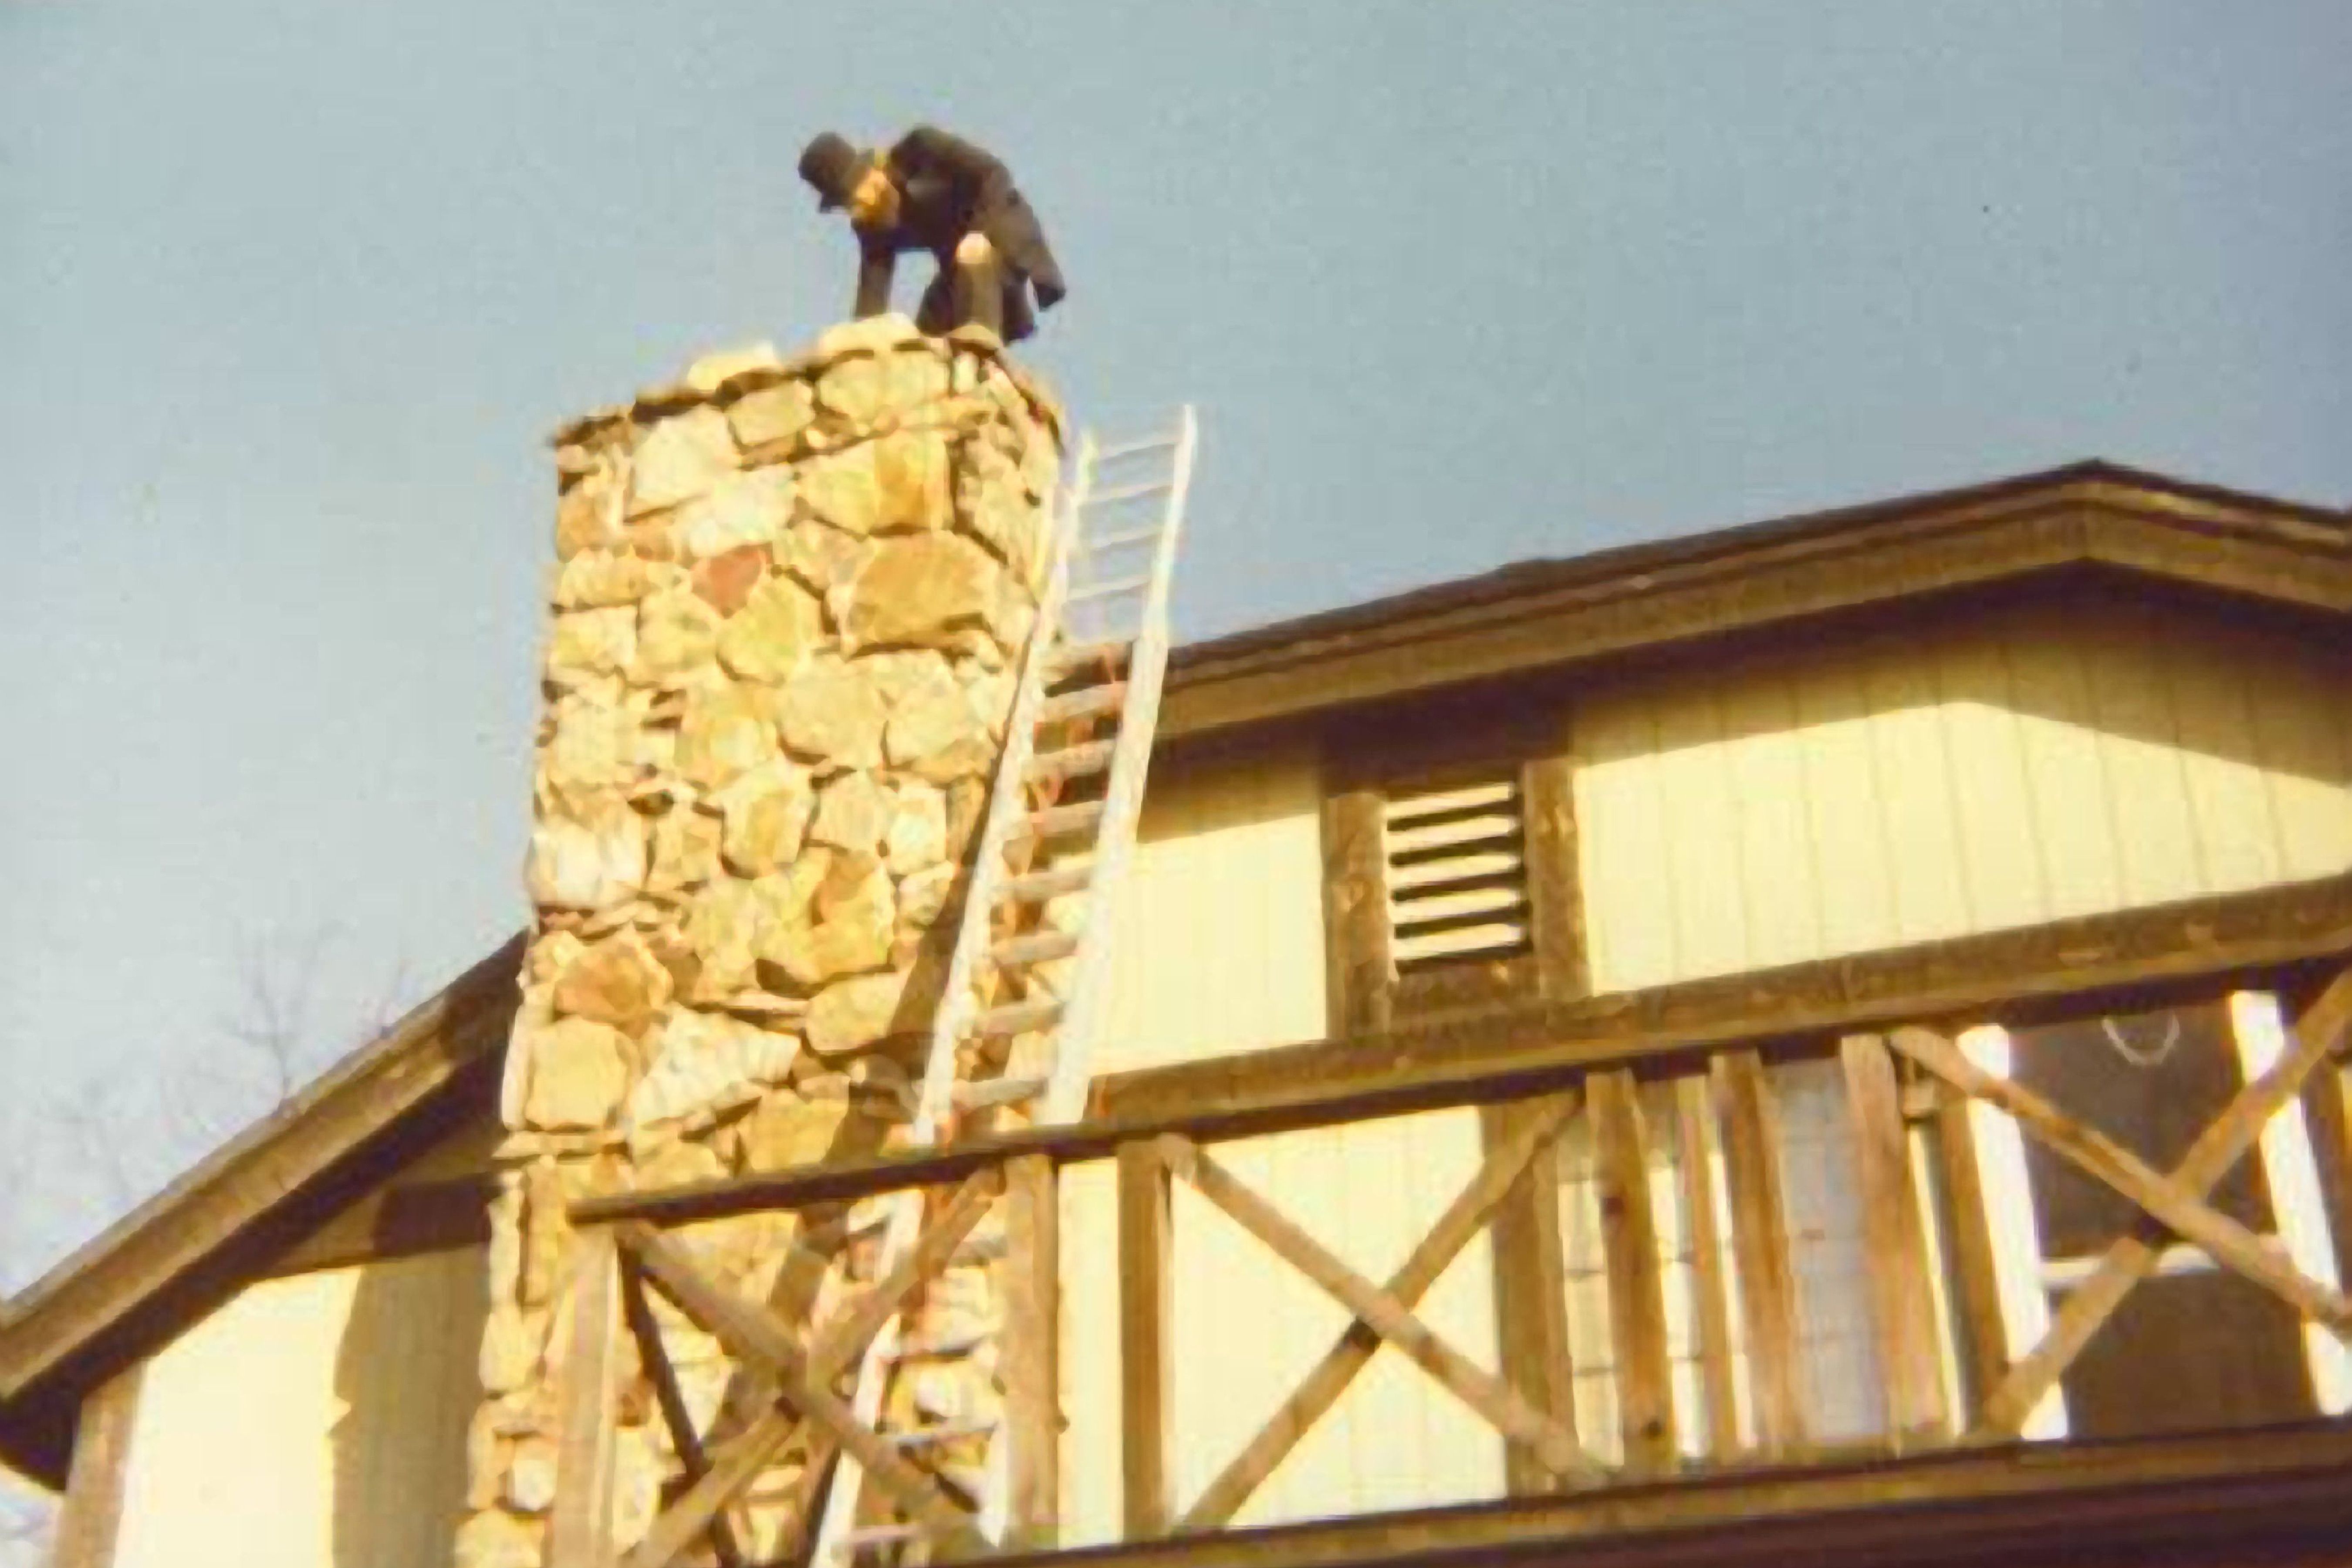
In addition, you will need your cordless drill and a dust mask.
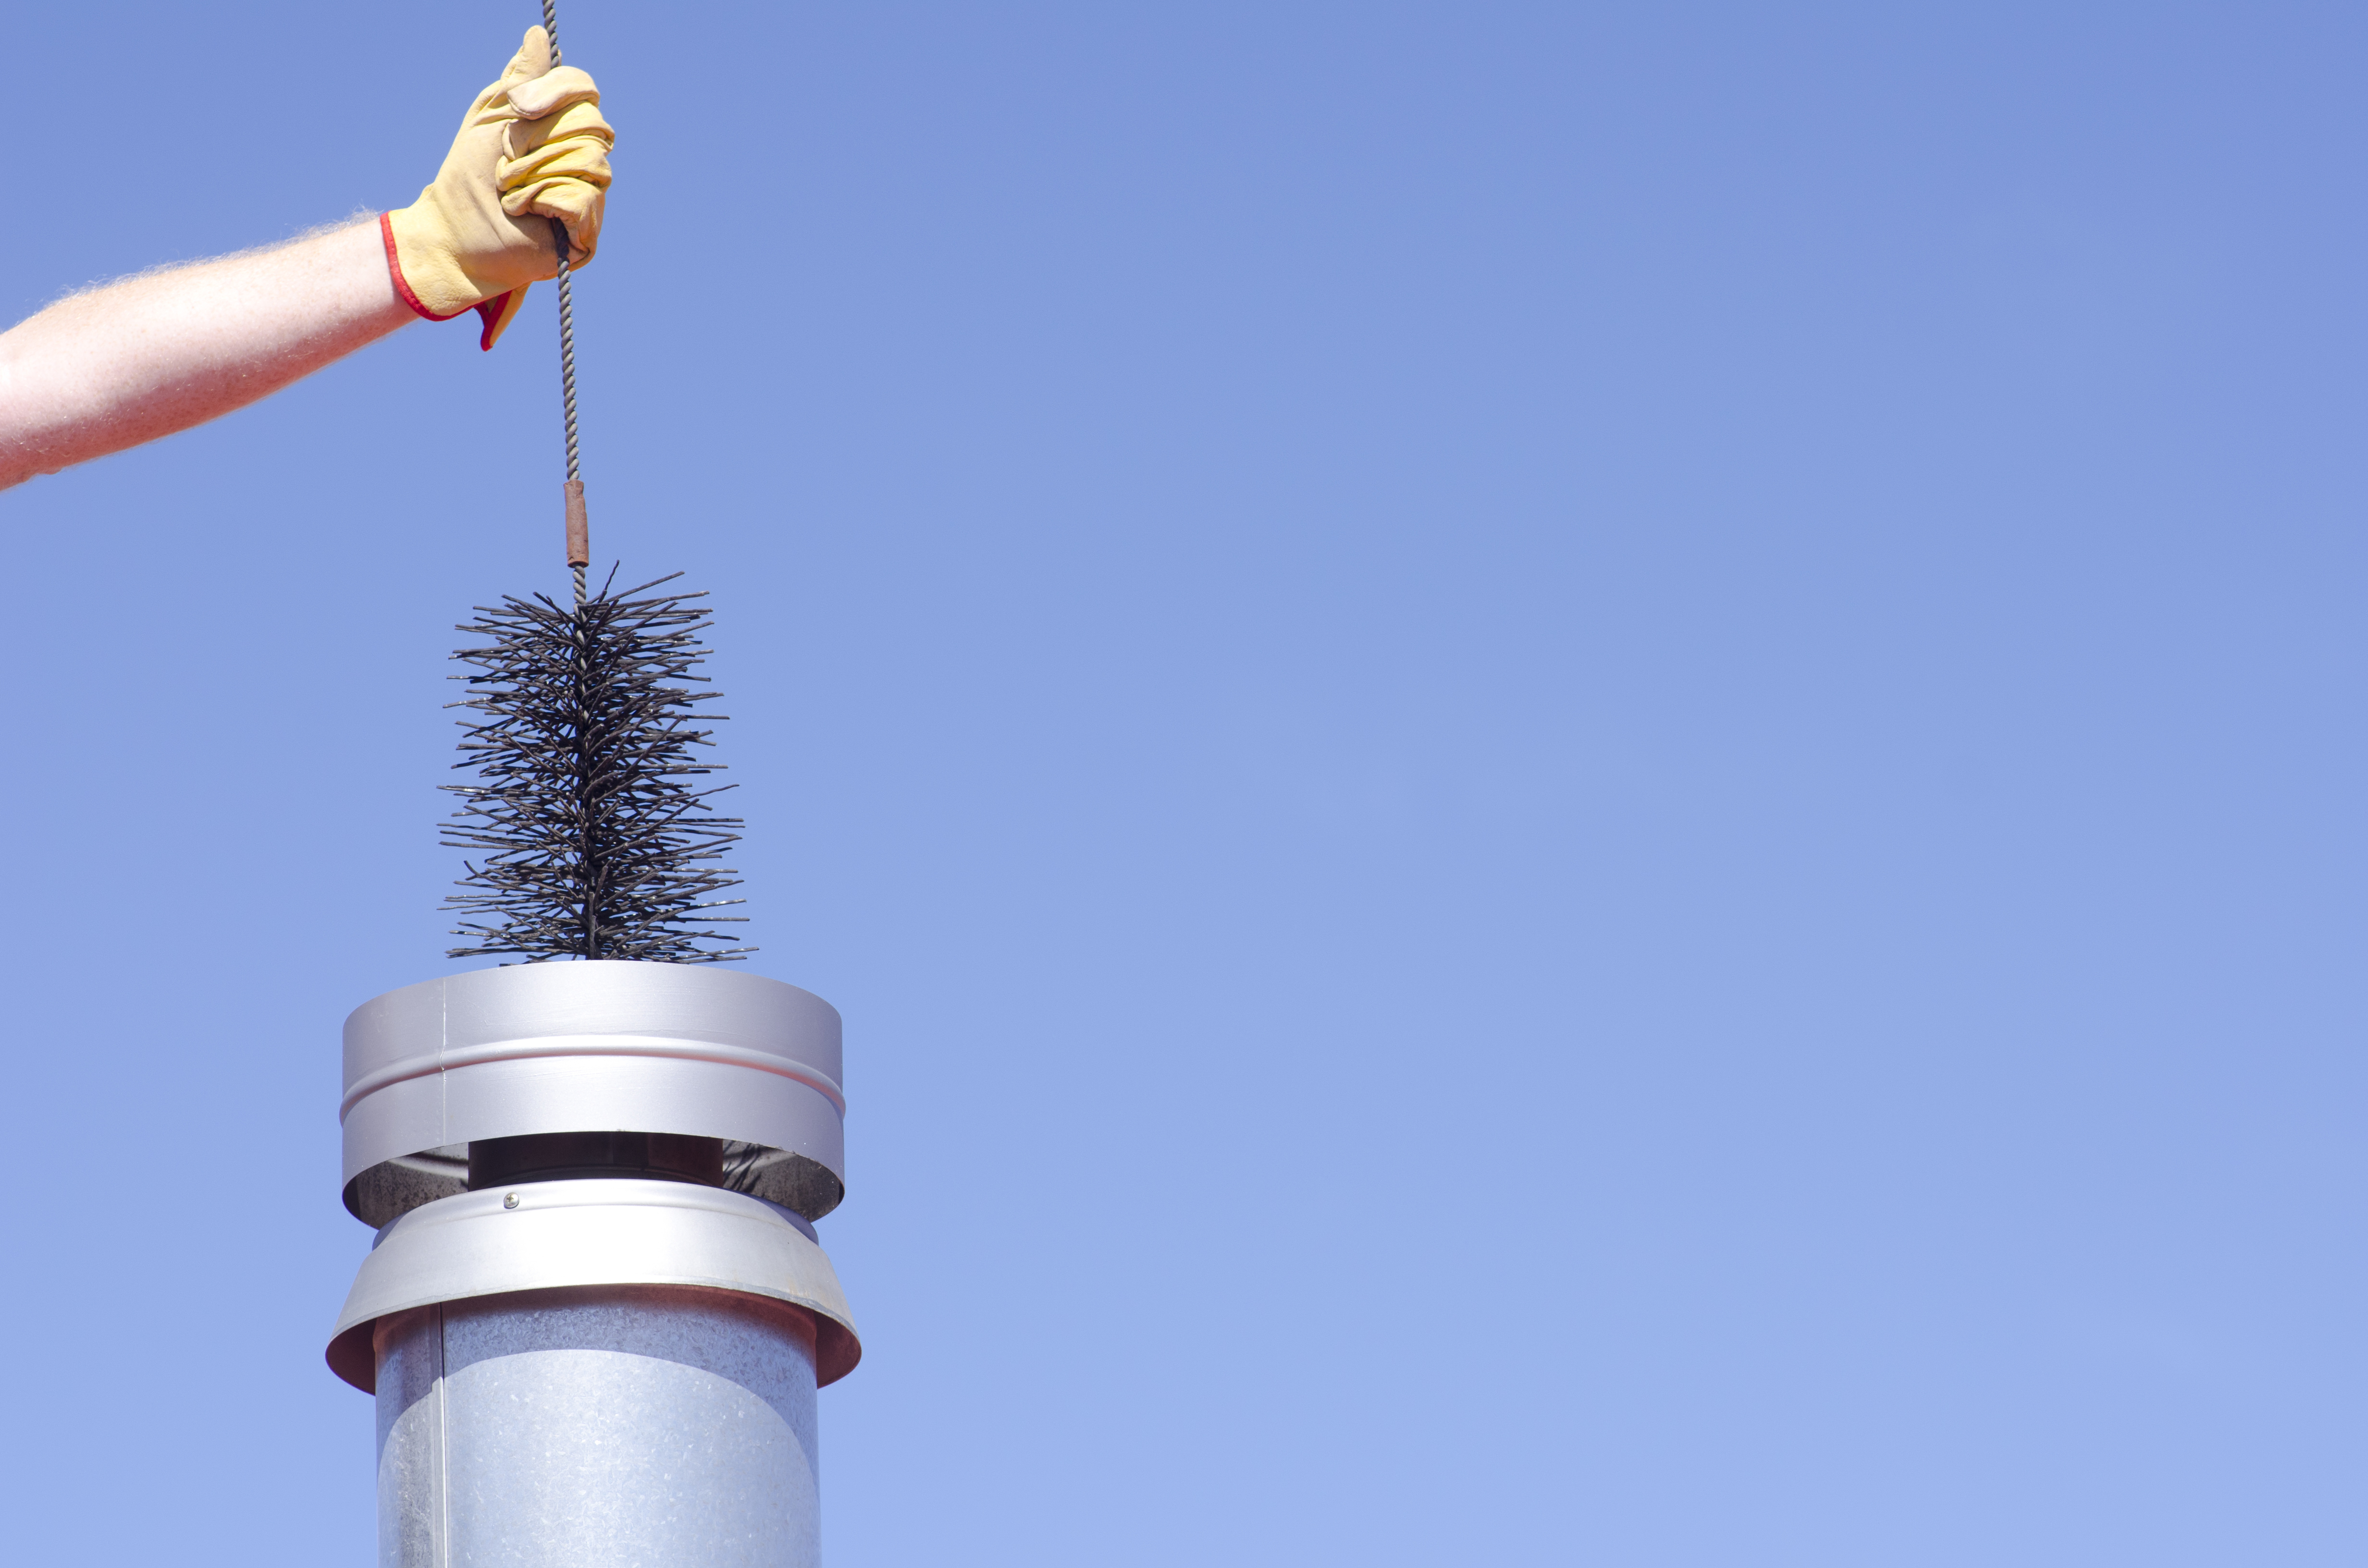
Remove Chimney Caps
To access the flue, remove the chimney caps by turning out the screws on the caps with your cordless drill. Place the caps well away from you so that you do not trip over them or accidentally kick them off the roof.
Prepare Chimney Cleaning Brush
Turn the chimney sweeping brush onto the first extension rod. Keep the additional rods nearby because you will need to add them to the first rod.
Scrub the Chimney
Keeping only one rod on the brush at this time, scrub the chimney by starting at the top and slowly working downwards. Scrub until you reach the end of the first rod. Take your next rod and screw it onto the back of the first rod. Continue scrubbing downwards, adding more rods, until you cannot go any farther. Eventually, you will reach the smoke shelf, typically a stopping point for most do-it-yourself chimney sweeping operations.
Scrub as You Remove the Brush
Do not remove the brush in one motion. Instead, take this opportunity to lightly scrub upward as you pull the rod assembly upward. When you reach a joining point, remove a rod and set it aside.
Finish Roof Operations
The roof side of this project is almost finished. Replace the chimney caps. Gather your tools and hand them down to your assistant. Exit the roof and remove the ladder.
Finish Downstairs
At the fireplace, wait about ten minutes for the dust and debris to settle. Carefully peel away the plastic and wad it up to enclose any dust that has adhered to the inside. Discard the plastic.
Clean visible areas that you can reach with the smaller chimney cleaning brush. Suck up all debris with the shop vacuum. Remove all tools, then wad up the flooring plastic to enclose all fallen debris.